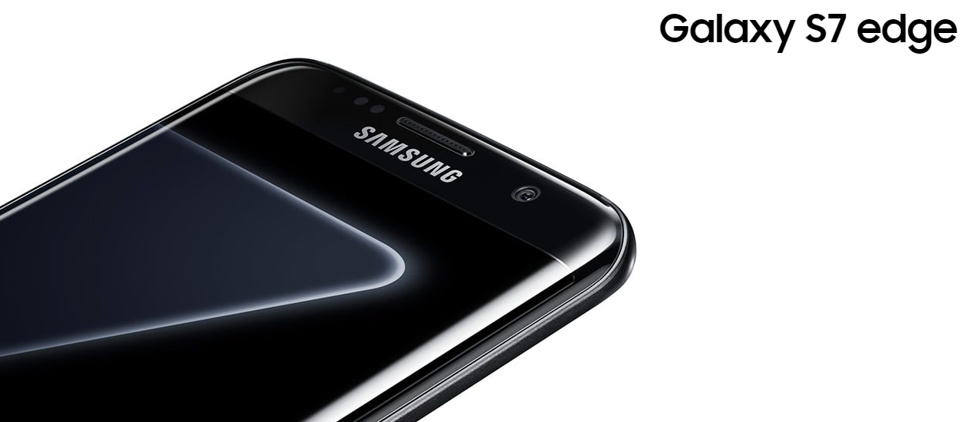
How to root Snapdragon Galaxy S7 and S7 Edge on Android 8.0 Oreo Samsung Experience 9.0?

Update: Fix for Random reboot is to use the latest Eng Bootloader V6. The two year old Samsung Galaxy S7 and S7 Edge and all of their variants have already been updated to Android 8.0 Oreo by the end of last month. This first began when the Exynos variants of S7 G930F/FD (Global) and S7 Edge G935F/FD received the Oreo OTA update. Later, the US carriers rolled out similar update for AT&T, T-Mobile, Verizon, Sprint, etc. Now, here is a tutorial on how to root Snapdragon S7 and S7 Edge for latest Samsung Experience 9.0 based on Android 8.0 Oreo.
We already have the rooting tutorial for Exynos S7 and S7 Edge. This is possible because the Global variants have a readily Unlockable Bootloader. The Qualcomm Snapdragon processors, on the other hand, do not have this privilege. Thanks to developer, jrkruse, for deploying an Engineering Bootloader from Nougat that can be used on Oreo firmware as well. So the following procedure works on Android 7.0 Nougat as well as Android 8.0 Oreo firmware to gain root access for all US carrier models like SM-G930A/P/T/V and SM-G935A/P/T/V.
Root Snapdragon S7/S7 Edge supported devices:
- AT&T Galaxy S7 (Edge) SM-G930A or G935A (Oreo/Nougat)
- Sprint Galaxy S7 (Edge) SM-G930P or G935P (Oreo/Nougat)
- Verizon Galaxy S7 (Edge) SM-G930V or G935V (Oreo/Nougat)
- T-Mobile S7 (Edge) SM-G930T or G935T (Oreo/Nougat)
Read: How to Root Galaxy S7 and S7 Edge on Nougat?
Warning: Although, the procedure has been tested working on some Snapdragon S7 devices, it doesn’t mean it will work for all the devices. If something goes wrong, we won’t be responsible. It is wise to backup and keep a full stock firmware file handy so your Samsung Galaxy device can be restored to stock via Odin. Reader’s discretion is advised.
Root Snapdragon Galaxy S7 (Edge) on Oreo – AT&T, T-Mobile, Verizon, Sprint
The root procedure has been tested working on Samsung Galaxy S7 (Edge) devices and is in beta state. So it may or may not work with all devices. Check out the supported devices list and also the warning . Moreover, this process does not cause any data loss.
Requirements:
- Verify the device for compatibility from above.
- Enable USB debugging and setup ADB and fastboot environment on PC.
- Download the ENG (AP) files for S7 and S7 Edge – Download S7_Oreo_Nougat_Adb_Advanced_Root V10 from here. (This is the ENGINEER boot kernel boot file that needs to be flashed).
- Make sure you have enabled USB Debugging on your S7 device.
- This file is optional and will Volte And Hotspot Fix. Download from here.
- Download and use latest modified Odin.
This Eng Boot Kernel zip will give you the option to install some CPU tweaks. You can change the settings included with the rooting Bootloader. You can also download the speedup swap app from Play Store to tweak further.
Warning: This tutorial will remove Knox and change the fstab.qcom file to disable DM-Verity on system and remove encryption. Installing the above zip requires a data wipe unless you have already installed it or you are coming from my non rooted ROMS.
How to Root Galaxy S7 (Edge)?
- Download and extract the
S7_Oreo_Nougat_Adb_Advanced_Root.zipfrom above. It consists of all the necessary files including SuperSU, Odin, etc. - Transfer and Extract the zip file to PC and enter it.
- Reboot your S7 device into Download Mode or Odin Mode. (Turn off the device completely and then press and hold Power button + Volume Down (or Up) + Home keys for a few seconds.)
- Enter the extracted S7_Oreo_Nougat_Adb_Advanced_Root folder and find the folder named Odin_Firmware. You will need to use the modified Odin to flash the Eng Boot Image for your
phone. - Launch the modified ODIN EXE on your PC. Run Odin software as administrator.
- Connect your device to your PC using a USB cable and make a successful connection.
- From Odin, click on AP button slot and add the
AP_SM_G930_OREO_ENG_BOOT.tarfile or whichever is best for your particular S7 or S7 Edge device. - Verify everything and proceed with installation by selecting Start button.
- Let the installation begin and then reboot to system.
- Once done, connect Android to PC and again go to the folder S7_Oreo_Nougat_Adb_Advanced_Root.
- Simply run the
root.batfile. Alternatively, you can open a Command Prompt (CMD) on your computer and enter the following:
root.bat
Note: You can also run the root.bat file by double-clicking it, but make sure the zip is extracted. This will push the required files and root the S7 device.
- Follow the directions on terminal.
- It is recommended to choose the Systemless Root option.
- Once the phone is rooted, and root bat closes, leave the phone alone for a few minutes,
- Phone may reboot a couple of times
Note: If you choose system root, it is OK to update the binary when the SuperSU app asks. Choose normal. Just don’t flash any third-party superuser zips in recovery.
Once the procedure is complete, reboot the phone once and start granting root access to apps.
Possible fix for heating and lag after rooting Galaxy S7
Install Kernel Adiutor (ROOT) app from the Play store and grant root access. Open app and set both CPU governors to ONDEMAND and set apply on boot. Also, CONSERVATIVE kernel settings could give better battery life. Keep testing the options for your device.
Optional (Alternative root method)
Download and flash the S7_Oreo_Su_Binary_Only_ADB_Root.zip. This root zip is only for Android 8.0 Oreo firmware on Galaxy S7 devices. It only installs the SU binary to the system/xbin folder to root Android devices. It does not disable DM-verity and system file encryption. There is no SuperSU app either. Install this SuperSU.apk.
You may also like:


