How to Root Windows Subsystem for Android using Magisk | Download WSA with Magisk and Gapps

Microsoft released the first instance of Windows Subsystem for Android (WSA) for Windows 11 for the beta channel. As Android is a free and open-source operating system, developers have been tweaking and modding the WSA on Windows 11 ever since; similar to that we do on Android smartphones. Devs have already managed to install Google Play Store (Gapps) on WSA. It’s about time we install Magisk and root Windows Subsystem for Android on Windows 11.
For those of you who don’t know, Magisk is the most popular tool or exploit to gain root access on Android operating system. The project has been maintained by @topjohnwu – a renowned Android developer.
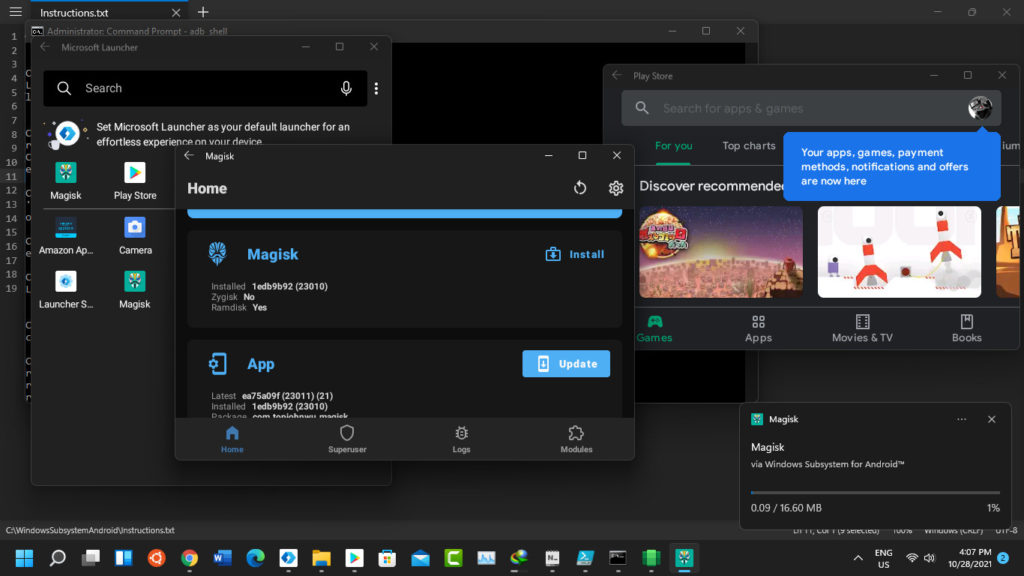
As we reported earlier, someone already managed to install Magisk, Riru, and LSPosed on WSA. Here we are with the first tutorial on how to root WSA using Magisk.
Similar to what we did in the tutorial for Gapps (Google Apps) on WSA, here we are going to install a modded Windows Subsystem for Android which comes pre-installed with Magisk and Gapps.

While we already have a tutorial on how to install the official Windows Subsystem for Android on any Windows 11 instance, it is a vanilla Android 11 build. Here is how to install the rooted WSA with Magisk and Google Play Store or Play Services pre-installed.
Download WSA with Magisk and Gapps
Here, download all the files required to root WSA. It includes the WSA with Magisk and Gapps zip, a patched Magisk APK (Magisk Manager), and ADB tools.
- Windows Subsystem For Android (WSA) with Magisk and Gapps |
Telegram channel link | Download (Gdrive) | Mirror link (MegaNZ)
Thanks to LSPosed for the Github project MagiskOnWSA.
Before you begin, you may also like to know how to download and install Android apps onto Windows 11. You can also download the Linux kernel source code of WSA from here.
How to root WSA with Magisk?
- Download Windows Subsystem For Android (WSA) zip with Magisk and Gapps from above.
- Setup ADB for Windows OS. OR download the Android SDK Tools by Google.
- Delete any existing WSA instances from Windows 11. (WIN+X -> Apps And Features -> Windows Subsystem for Android -> Uninstall)
- Extract WSA zip files downloaded in step 1 to a location where you want to install WSA.
- Make sure to enable Developer mode in Windows (Search -> developer settings -> developer mode)
- Extract the WSA with Magisk and Gapps zip and enter the folder.
- Hold Shift key + Right click and choose Open Powershell window here to launch a terminal with admin privileges.
- Enter the following in the terminal:
Add-AppxPackage -Register .\AppxManifest.xml
- This should install WSA onto Windows 11.
- Launch WSA -> enable developer mode. Search in start menu.
- Launch the file manager by clicking “File” tab at the top and wait until the file manager popup.
- Ensure you have ADB setup on Windows 11.
- Or move the magisk.apk file to the platform-tools folder.
- Enter the folder and right click to launch command prompt or terminal.
- On WSA refresh IP address and copy IP Address.
- Enter the following in the terminal
adb connect <IP>
(Replace <IP> with IP address you copied earlier) (A more precise tutorial is here)
- Enter the following in terminal to install Magisk.
adb install magisk.apk
- Search for Magisk in Start Menu and see if Magisk is installed.
- Launch Magisk and install accept.
- Launch WSA from start menu.
Congratulations! Your WSA is now rooted.


