
Install Android 6.0 Marshmallow Based AOSP ROM on Sony Xperia S

Subscribe for Updates
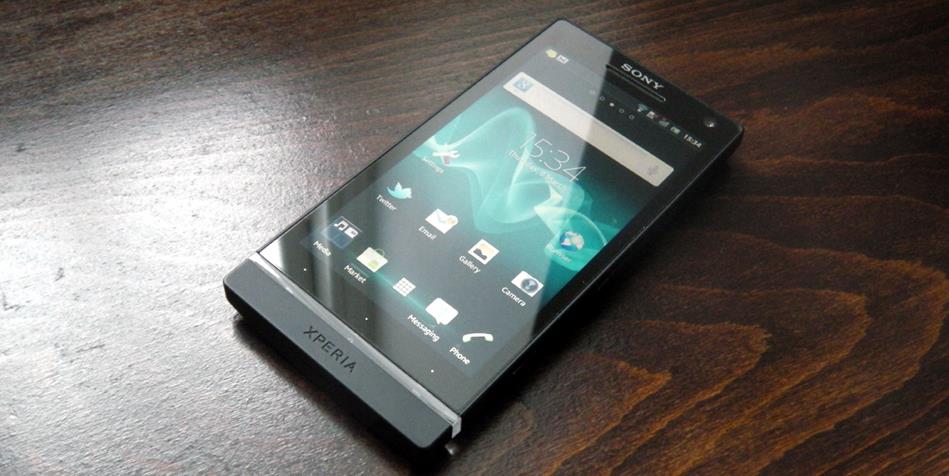
Sony Xperia S is a lucky device as the device has received it’s first Marshmallow build with the Pure AOSP ROM. The ROM has been ported from the AOSP source code from Google making it close to Nexus device. Courtesy of billchen1977, an XDA forum member, the good old Sony Xperia S can now be updated to Android 6.0 Marshmallow.
As it is an initial build and has not been tested yet, you need to be cautious about it. Before you proceed with the installation, remove /sdcard partition (p15) and increase size of /data partition (p14). In short just decrease size of /sdcard partition. Also format /data but leave 16384 Bytes spare area at the footer of partition. Manual specify block/sector count when mkfs. Before you do all this backup your SD-card. For details, get to this link.
In order to install the AOSP ROM, make sure you setup TWRP on your device. As it is a custom ROM, you will need a custom recovery like TWRP, CWM, Philz Touch recovery if flash the firmware successfully onto your device. Once you setup TWRP on your device, download the latest available AOSP build from the download section below and flash it right away.
Remember to backup all your app, data, media and more just in case anything goes wrong. Also take a nandroid backup from within the TWRP recovery. This will be useful if you need to restore your current ROM or revert back to stock if you are coming from one.
Warning: Once you root or install a custom ROM, your warranty may be void. We at AndroidSage won’t be liable for any damage to your Android device. We won’t be held responsible if you brick your device. Reader’s discretion is advised.
Downloads
- Pure AOSP Marshmallow ROM For Sony Xperia X:
- Marshmallow Compatible Google Apps:
Prerequisites
1. Verify your device by visiting the download link and download the latest available AOSP ROM release for your device.
2. Make sure you have a custom recovery installed on your device. Latest build from TWRP is highly recommended. You may also find a new official CyanogenMod recovery alongside the ROM file. This recovery is meant for the convenience of updates for the CM 13 ROM. However, TWRP should work just fine.
3. Make sure you have latest device drivers setup on your PC in order to transfer the files to your device’s internal storage. Get it from the official page of your device manufacturer.
4. Fully charge your device as the process make take a while.
How to Install Android 6.0 Marshmallow Based AOSP ROM on Sony Xperia S
Step 1: Download the AOSP ROM from above. Also download the Android 6.0 Marshmallow compatible Google Apps from the above download section. If you are looking for root after installation, download the SuperSU package from the list.
Step 2: Transfer all the necessary files to you device’s internal storage or SDcard. Place the files where you can easily locate it.
Step 3: Now boot into TWRP recovery. To do so, turn off your device completely and then press and hold power button and volume down key for a few seconds. Once you see the TWRP logo, that means you have successfully booted into the recovery. Alternatively, if you have rooted device, then use Android apps like Quick boot or Boot Smart.
Step 4: Once into TWRP, take a Nandroid backup. To do so, tap Backup option and select all the partitions including the system, data, boot, recovery, EFS and cache(optional).
Step 5: Now wipe the current system. To do so, return to home screen and tap the Wipe option in TWRP. Tap Advanced Wipe and select partitions like system, boot, data, cache, dalvik cache. Do not in any case select internal storage, unless you know what you are doing.
Step 6: Now return to home screen again and tap Install option. Navigate to the ROM file from your internal storage and select it.
Step 7: Now swipe right on the confirmation action button below to install the ROM.
Step 8: Once installed, go back and select the compatible Google apps zip file from the location in your internal storage.
Step 9: Once selected, swipe right on the confirmation action button below to flash them.
Step 10: Once installation completes, you can wipe the Dalvik cache or simply choose reboot to system option.
Step 11: Once you reboot, you should see the new AOSP logo. This means that the ROM has been installed successfully. First boot may take a while. If the ROM doesn’t boot or you come across bootloop, a factory reset from the recovery should do the trick. If that fails, you can restore your previous ROM from the TWRP recovery.
Like and share us on social media. If you need any help, then comment down below. Get in touch with us if you want to know more about TWRP installation or come across any errors.
Source: XDA
Official Marshmallow support for more Android devices:
UPDATE YOUR ANDROID DEVICE WITH CYANOGENMOD 13 [INSTALL ANDROID 6.0 MARSHMALLOW]
Meet Expressive Launcher — A Fresh Way to Android
The wait is over. Expressive Launcher has graduated from beta and is now stable and available to everyone on the Google Play Store. Download it today and experience a fresh way to customize your Android home screen.
Get started
